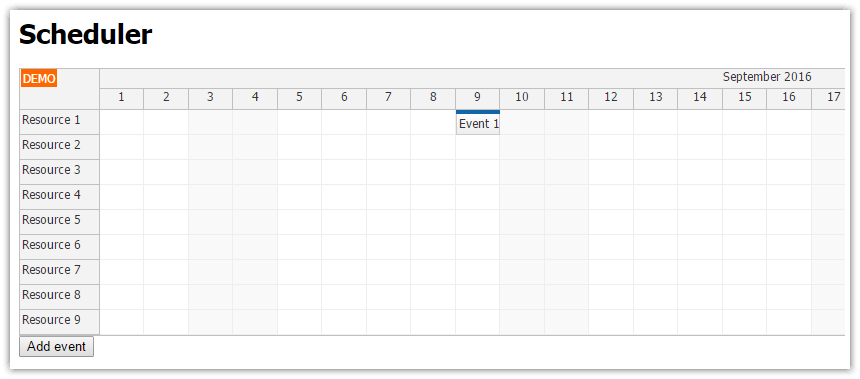
This tutorial shows how to add DayPilot Scheduler to an Angular 2 project created using Angular CLI.
Source code of the tutorial is available for download.

app.component.ts
import {Component, ViewChild} from '@angular/core';
import {DayPilot} from "daypilot-pro-angular";

@Component({
  selector: 'app-root',
  templateUrl: './app.component.html',
  styleUrls: ['./app.component.css']
})
export class AppComponent {
  title = "Scheduler";
  last: number = 1;
  @ViewChild('scheduler1') scheduler1: DayPilot.Angular.Scheduler;

  events: any[] = [
    {start: "2016-09-09", end: "2016-09-10", id: 1, text: "Event 1", resource: "R1"}
  ];

  config: any = {
    scale: "Day",
    startDate: "2016-09-01",
    days: new DayPilot.Date("2016-09-09").daysInMonth(),
    timeHeaders: [
      {groupBy: "Month"},
      {groupBy: "Day", format: "d"}
    ],
    cellWidthSpec: "Auto",
    resources: [
      {name: "R1", id: "R1"},
      {name: "R2", id: "R2"},
      {name: "R3", id: "R3"},
    ],
    onTimeRangeSelected: args => {
      alert("start: " + args.start);
    },
    onEventClicked: args => {
      alert("clicked: " + args.e.text());
    },
    onEventMoved: args => {
      this.scheduler1.control.message("Moved");
    },
    onEventResized: args => {
      this.scheduler1.control.message("Moved");
    }
  };

  add() {
    this.last += 1;
    this.events.push({start: "2016-09-09", end: "2016-09-10", id: this.last, text: "Event " + this.last, resource: "R1"});
    this.scheduler1.control.message("Added");
  }
}